In this post I will show you a build of a Piaggio engine I did for one of my friends. He uses his scooter (Gilera Runner) for daily driving. Although he already had a respectable daily driver setup, he wanted more. He asked if I could take a “look”.
His setup was:

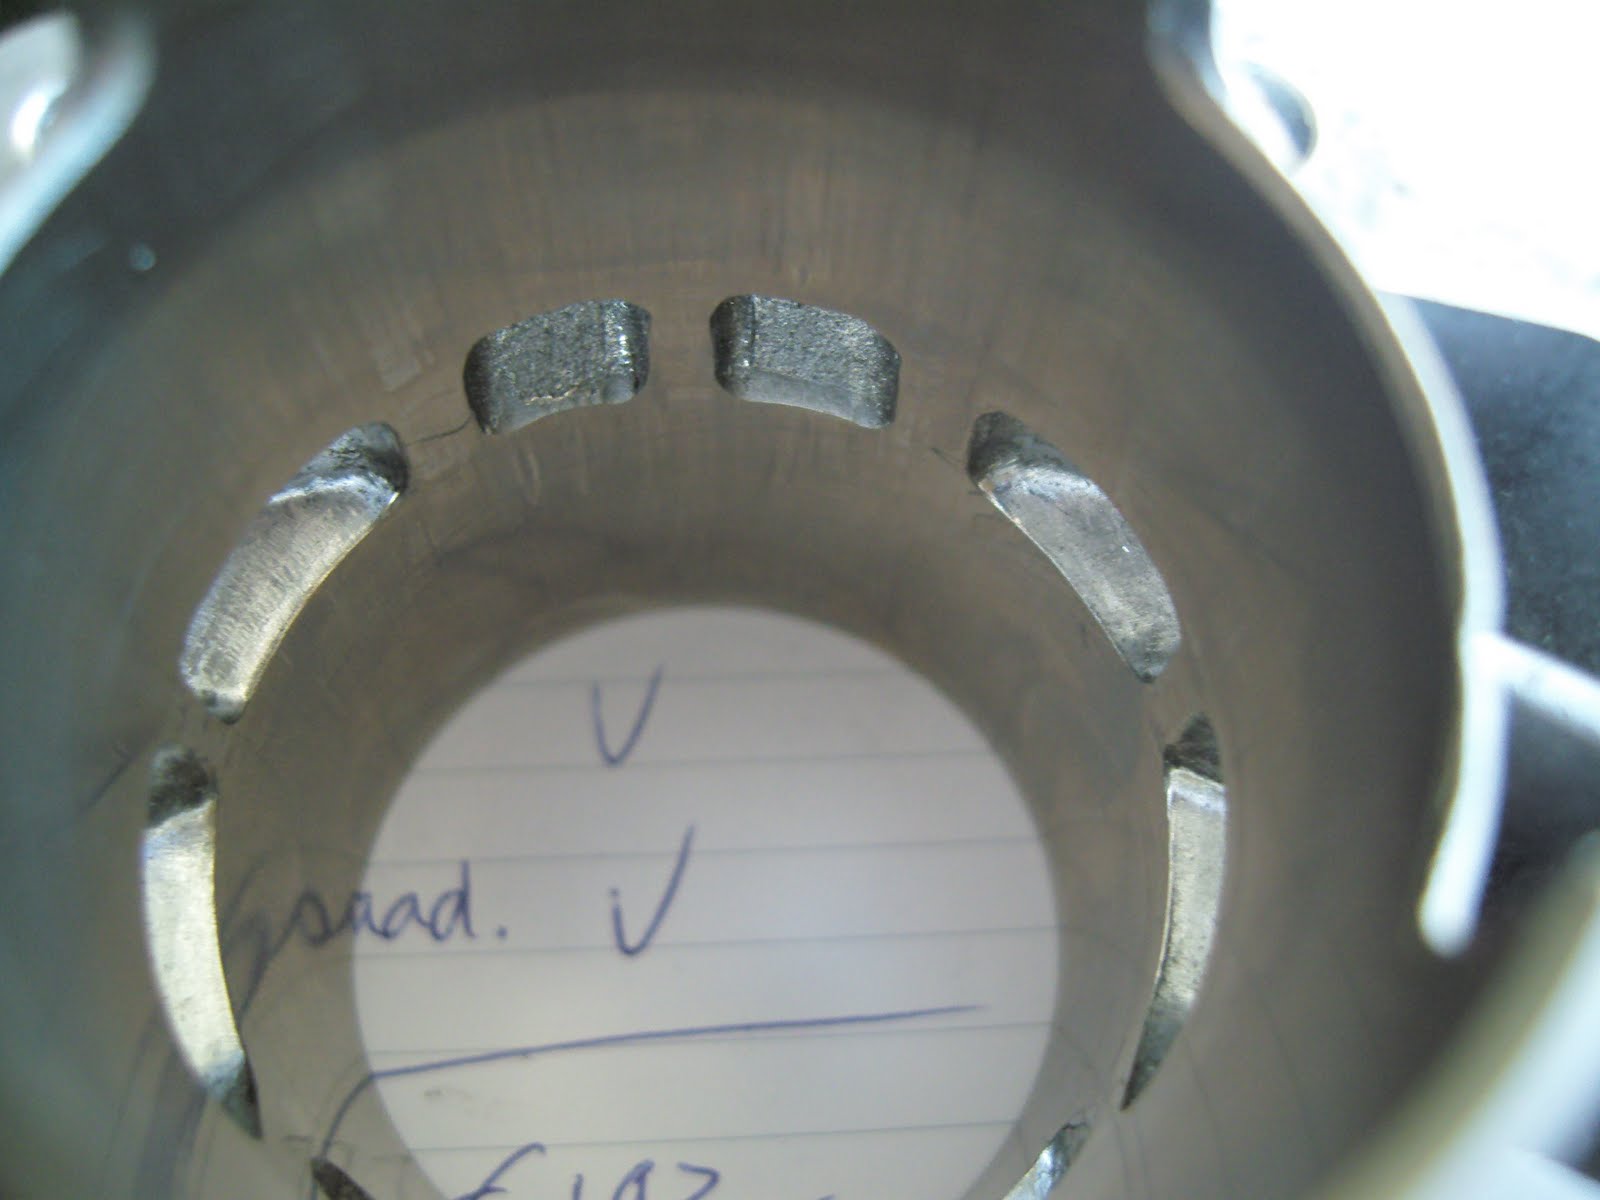
When the engine arrived at my home, I started dismantling the engine so it could be cleaned, tuned and rebuild.
When I took off the cylinder I made a somewhat unpleasant discovery… The piston needle bearing was in pieces and had eaten away material from the piston pen. These things you don’t want encounter when removing a cylinder.
 |
| Crushed needle bearing |
 |
| Material eaten away |
 |
| Material eaten away |
The piston pen is made of hardened steel. This material that is rock hard and you need a lot of and friction to make it look like the pictures. This gives an idea of with how much force the piston is blown down by the expanding mixture! This shows that it is important to use the right bearings and material when building a performance engine.
The good news was though that the cylinder wasn’t damaged at all! It was actually in pretty good condition, a sign that it was given enough oil and maintained properly.


Part by part I dismantled the engine, until I was left with an empty crankcase.


Next step was to tune the cylinder. Tuning a 2 stroke cylinder is done by changing port durations and port surface. If done in the right way, the engine will burn fuel more optimal, giving you a bigger bang and therefore more fun ;)
Before you actually can start milling, you should do some measurements and calculations. First you measure up the timing of the cylinder. This can be done in several ways. You can either measure timing with a degree wheel or you can measure timings by measure the distance between the top of a port and top of the barrel. This distance can then be used to calculate degrees. I prefer measuring the distance using a caliper. There is no good or bad way of measuring timing. It all comes down to being precise. I use an excel spreadsheet where I enter the numbers and it returns the number of degrees.
The transfers are equal to the real Manston cylinder, meaning an timing of around 130 degrees and good use of cylinder surface. The primary transfers are "pulled" towards the exhaustport and the secondary transfers are close to the boostports (at the back of the cylinder). The part that makes this cylinder rather tame is the exhaustport. It's relative small and it has a low timing (185 degrees). Luckily, there is enough material that can be removed. It could even be upgraded to Manston level, but that was not the way I choose because my friend still wanted to be able to use his scooter every day. So there was no need to go all out with tuning.
After doing the math, it was time to mark the right distance and start milling.
 |
| You can see that the exhaust port was raised quite a bit |
 |

I did some more cleaning up and this was the end result


Having a tuned cylinder is nice, but isn't any good on a stock crankcase. To unleash full power of any setup you have to make sure things match. The transfer tunnels on the cylinder are wider than the tunnels on the crankcase, disrupting the flow to the cylinder. The next step was to tune the crankcase so the mixture can flow straight into the cylinder.


Tuning a crankcase isn't that hard. It is important that you work precise (the more precise, the better the result!) and do not remove to much material. Some parts of the crankcase are thinner than others.
A good way to start is by placing the foot gasket over the cylinder studs and mark the difference. I would not cut away all the material that was marked, because gasket and cylinder don't match a 100%. So stop before you reach the end of the marked part. If you have reached that slide the cylinder over the studs and see how far you have to go and where it might some more adjustments.
After some milling you get the following result.
 |
| Here you can see the clear difference between tuned (left) and stock(right) |
 |
| All done! |
I decided that before I was rebuilding this engine, it needed cleaning. I sandblasted the crankcase so it would look like new again.


In the meantime, I ordered a new crankshaft (Doppler), Malossi primary gears and some small parts like a new water pump kit, gaskets, sparkplugs etc. If you are rebuilding, do it properly!


After this was done I installed the waterpump and crank. Mounting a crankshaft can be done in several ways. I prefer to have the bearings on the crank before I mount the crankshaft in the crankcase.
 |
| Waterpump wheel |


 |
| All done! |
I pressed in the new Malossi gears (14/39 ratio) and mounted them into the case.


As you can see on the picture above, the cylinder and waterpump where mounted too. Because the original oil pump is not suited for this kinda work (rpm), I removed that. To make sure that the waterpump wheel wouldn't slide off its shaft I used an old crankshaft seal that fits right over.


The cylinder was mounted with and torqued down with 11nm on all four studs. The way to do this is cross ways so that all force is distributed equally. Not doing this will lead to extra friction, giving more wear on piston and ring.
When I was going to mount the reedblock and manifold back, I noticed that those didn't match. The opening of the reedblock was different in shape and size than the manifold is.


Nothing I couldn't fix, so I took my rotary tool and opened up the reedblock.

After that it was back to mounting all the parts, so it could be shipped back.


I hope you enjoyed reading and watching this.
Stay tuned!
Bram
Amazing write up im sending my scoot your way!
ReplyDeleteHi!
ReplyDeleteThank you :)
It is best if you send me an e-mail.
Bram
Thanks a lot for your blog, I search interesting posts for the Altecracing online shop.
ReplyDeleteKit 80 cc