Just wanted to show a couple of pictures of a Stage 6 Racing engine I tuned this weekend.
I had to buy an case for this customer, since his old wasn't usable anymore (stator came loose, destroying the threads for the screws. I was bought used, but in "good shape". Yes it is dirty, but it was used on a daily driver, which was completely stock. IMO this is what you want if you buy a second hand case. It is then all yours to tamper with.
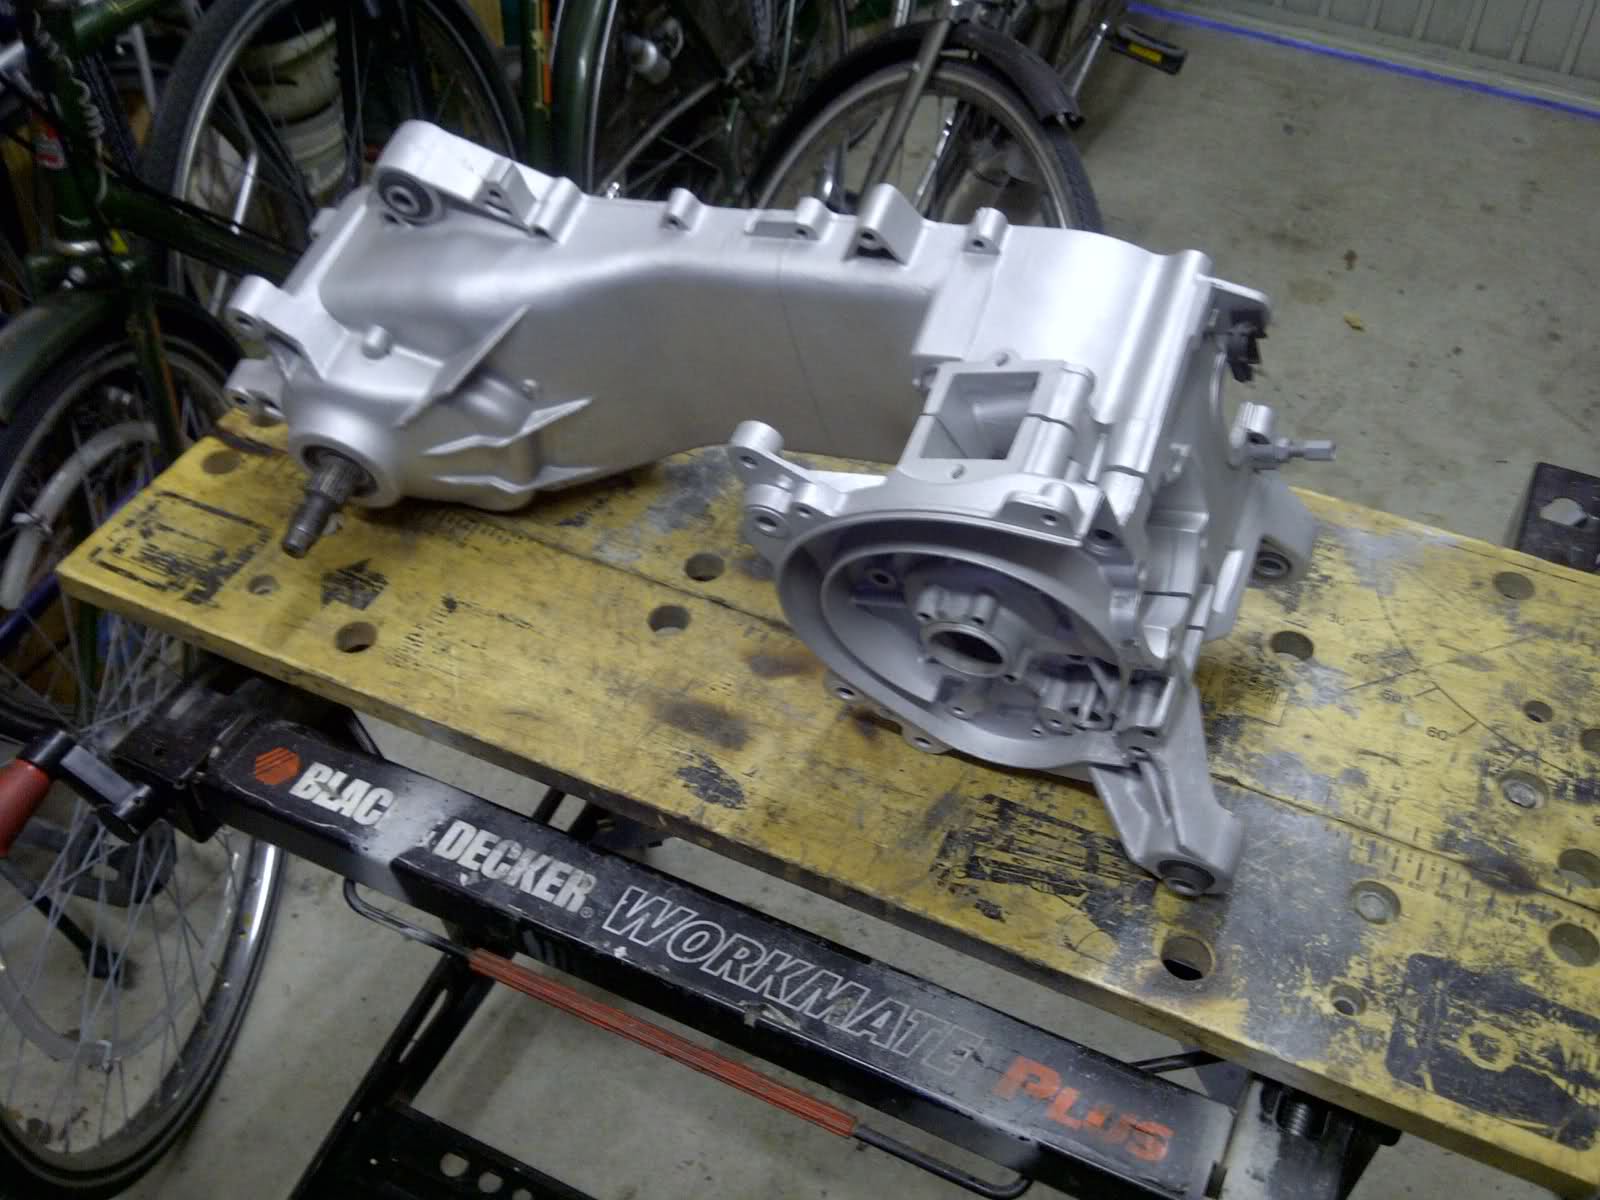
Once it arrived I split the case and took the crank out. The cases will get a sandblasting before shipped off back to the customer.


Next step was to start tuning the cases. The Stage 6 Racing does not have the biggest transfer tunnels, but they are still bigger than they are stock. First the small side was done.


 |
| Although the difference is small, there is a difference! |


 |
| And all done! |
This is how a stock exhaust port from a Stage 6 Racing looks like.

And this is how it looks like after I opened it up.

You can see that the top of the exhaust port isn't straight, that will be the next step.


The transports where next. Besides the transfer ports I also cleaned up the transfer tunnels.


With T-port exhaust cylinders, the bridge (the "T") is in the middle of the exhaust port. This also happens to be the hottest part of the exhaust port. Because the bridge is relative small and doesn't connect with much material, it can have trouble dispersing heat. This can lead to extra friction on the piston, leaving scuffing marks on the piston, making piston and ring wearing out faster.
To prevent this, I made two dimples in the piston that scrap oil from the cylinder wall and help cool the bridge.

Last was finishing the cylinder, give some "spit and polish"


There are still a couple of steps that have to before the engine gets shipped back. It will need sandblasting and cleaning out the thread holes so the screws will go in easy. This will be done coming week and I will update this post.
UPDATE
Yesterday night I sandblasted the cases and cleaned the thread holes from all the sand.
Sandblasting makes the engine look like new, or maybe even better..


I sandblasted the ports of the cylinder too. First I taped down the inside of the cylinder so the nicasil is protect from any sand. This removes any residue from casting and gives a nice finish.


And one mock up picture.

-------------------
22nd of May:
Some more pictures of reassembling the engine.


-----------------------------
Update: The first movieclip is here! The owner is still working on the setup of the transmission (he has to wait for a few bought parts). Fun to see anyway!
-------------------------------
This was kinda a "fast job", so I wasn't able to take more pictures of each step.
I hope you enjoyed anyway :)
Stay Tuned!
Bram
great work dude well written and very informative, keep it up !
ReplyDeleteAs you say :D It has to be adjusted, it will get faste :)
ReplyDelete